If you have ever experienced camping, you know that having a blazing fire is essential. What you might not know is that there are different types of fire, depending on the situation you find yourself in, the purpose of the fire, and the amount of wood at your disposal. Now, what if you find yourself and your loved ones in a survival situation after a natural or man-made disaster? Well, knowing to start a fire in survival situations is one of the most important skills you can have, fire is literally a lifesaver. But there’s more than one type of fire and being aware of which type of fire should you build is also one of those survival skills you must have.
To make things easier for you, we’ve created a guide with everything you need to know about fire building for survival. the different types of fires and which situations are they best used for. Let’s get started!
Fire building for survival – 7 Methods
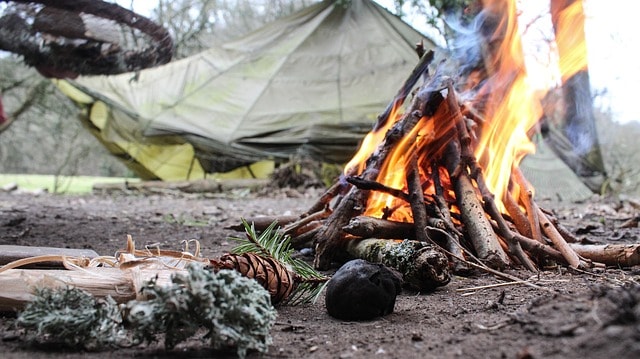
The Teepee
This one is the classic-coned shaped kind of fire, named after the Native American dwellings that resemble it. The base is wide and circular, allowing for better and higher oxygen flow, resulting in a fast-burning fire.
The teepee is easy to feed: just lean more sticks against its typical upward structure and it will keep igniting. The teepee is also known for consuming wood very quickly, therefore requiring constant maintenance. This makes it the best fire to build when you need quick warming or when you need to perform some minor cooking, for example, when you need to boil water.
If you want to boil water on the teepee, wait for the whole structure to collapse, put your water pot on the coals and keep adding small sticks around it to keep the fire burning.
The Log Cabin
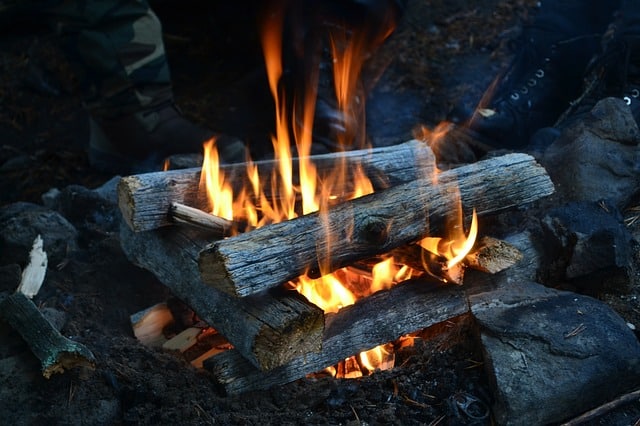
If you want to have a constant fire with minimum effort, choosing to build a log cabin will be your best option. This fire burns slower compared to the teepee.
You’ll have to stack thick logs in a way that will make them fall into each other as they burn, leaving some space in the center allowing air to flow. For example, you can start by placing two logs parallel to each other in your pit. To keep building the cabin, stack two more perpendicularly on top of them. Simply keep stacking the logs up to the height that you desire. To fire it up, place kindling in the space you left in the center and light it.
The Platform
The platform is very similar to a log cabin fire, only with a different purpose. While building a log cabin is handy to keep yourself warm, the platform is a type of fire that works perfectly for cooking food.
You’ll need to stack logs closer together and start the fire from the top of the structure. Here’s another difference: a log cabin fire is ignited from the bottom, while a platform burns from the top downwards.
The name “platform” refers to the fact that by burning from the top towards the bottom, the fire creates a “plate” of coals, perfect to place your pots and pans for cooking.
Building this type of fire is relatively easy. Start by laying a few logs on the ground and stack more on top, perpendicularly to the ones below. Keep going until you reached the height you wish, which should be at least three levels high.
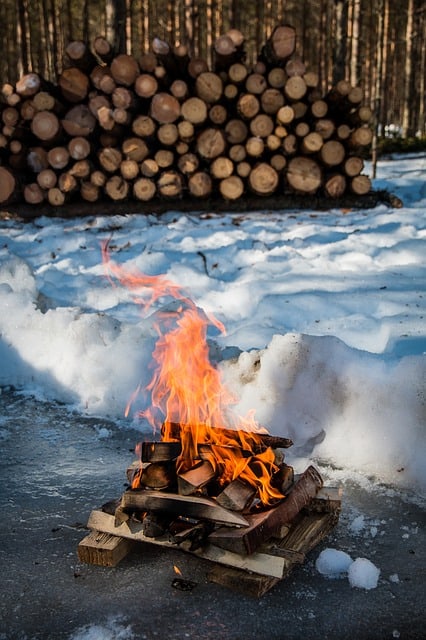
A platform is the ideal fire type if the ground is very wet or there’s a covering of snow as it keeps the burning logs away from the wet surface. And as it burns down it will dry out the ground below so that when it collapses in on itself it will stay alight long enough for you to rebuild the stack to keep the fire burning.
The Star
The star was commonly used by Native American tribes without easy access to wood. Indeed, this fire, instead of burning all of the logs at the same time, burns each log little by little. This results in a slow-burning fire that can be used with logs of any length while creating a full flame. This translates to less wood needed for creating the fire. To make a star fire, start by building a small version of a teepee and ignite it with kindling. Then, lay five logs around the teepee in a star-like shape, from the center towards the outside. Once the fire is starting to burn the logs, simply push the logs further to the center to keep the flame. If you need to stop the fire, take the logs away from the center.
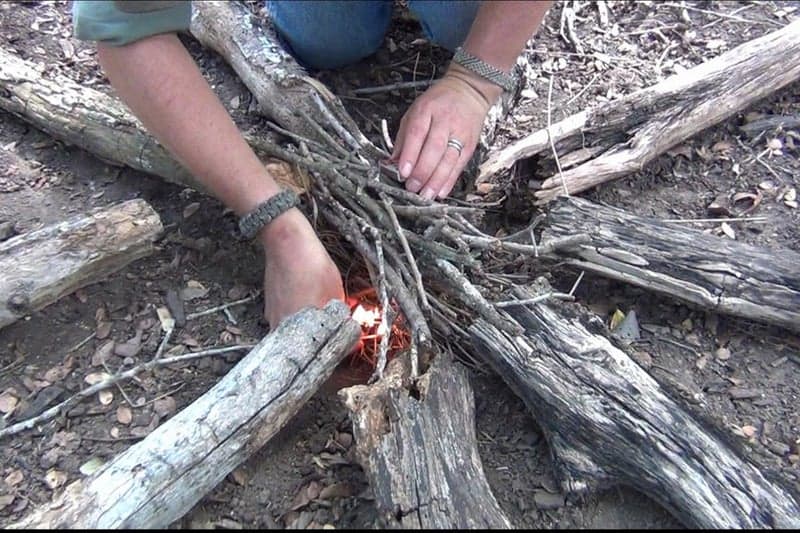
A complete step by step guide on building a star fire is here at instructables.com
The Lean-To
Have you ever struggled to build a fire when it’s windy? Then you know how frustrating it can be. The good news is that in these situations, you can use the lean-to method. This is a great method to get to grips with when you need a fire building for survival technique, even in a gale. It uses wood as a shield, allowing the fire to burn, even in the harshest conditions. To build a simple version of the lean-to, you’ll need to lay a thick log on the ground, with the tinder beside it, on the opposite side to the direction of the wind. Then, put small sticks and kindling around the log placing them over the top of the tinder. As soon as you light your tinder, you’ll see it setting the kindling on fire and burn the bigger log. You have your fire! To keep it burning, add larger sticks and other bigger size logs when the fire is ready.
Here’s a great video about building a lean-to fire.
The Dakota
If you are looking to have a simple but highly efficient fire, with little smoke, go for the Dakota pit. You’ll have to dig two small holes on the ground: one for placing the wood and the other for allowing air to flow in. Then, lay some smaller logs into the fire hole and put some kindling on top of them. By lighting the fire from the top, the fire will burn strongly and with almost no smoke, thanks to the whole.
So, if you want to stay hidden but you still want to stay warm and cook food the Dakota fire pit is ideal. This is how you do it
A fun fact you might not know of: this type of fire is used by the US military as it is easy to start in windy conditions and produces low light and little smoke, making it harder to localize.
The Smudge
The smudge is another type of fire, commonly used for spiritual rituals, but it can be handy if you want to free the area of mosquitoes or flies and enjoy your campfire without them annoying you.
You can build a smudge in several different ways. For an easy smudge, you can use a metal can. You’ll have to make two small holes in the can and add some small sticks for ignition. Before adding small pieces of bark, start a small fire on the bottom using dry tinder and kindling. Once you put bark on the can, you’ll see thick smoke coming out, which will keep the bugs away.
Here’s exactly what you do:
As you can see, there are several types of fire, helpful in any survival situation. Fire building for survival is a skill that is fun and important to master so you’re to start a fire in any situation! If you know of any others you think should be included in the list let us know in a comment below and we’ll add them.


